How Coachz Aid Works
Coachz Aid keeps track of your information starting with the Team Name. This team name contains a list of players and it also contains a link to an iCal calendar of your choosing. This iCal calendar can be a delegate from a Google Calendar which can be distributed to all players and parents. Using all of this information, data is stored, manipulated, and sorted.
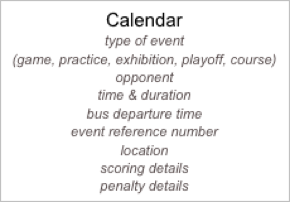
When information is added to the model above, it can provide a valuable and detailed snapshot of the team schedule, game results, its members, and resulting statistics.
The team name is the spruce of all stored information. When a new team is created, its name and year is used to create the storage directory for the database. All changes made within that team are kept isolated from other teams. To ensure confidentiality, the database and its information are stored and manipulated locally on your device.
Manage All Teams & Players
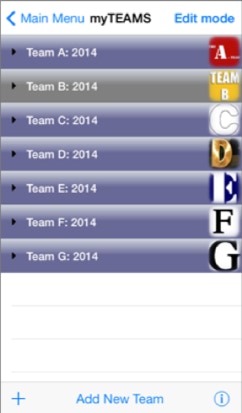
To view a list of all teams stored locally on the device, press the
button on the main screen. The standard colour for each team header is blue. If a default team has been selected from the main menu, it will be highlighted in grey.
To view or edit details related to a locally stored team, double tap on the team header.
For those coaches and managers who wish to share detailed information with other staff members, a file export bar button is available at the bottom of the Team Summary screen. Tapping this icon will send an email with an attachment to one or more recipients. The team database information can only be exchanged successfully between Coachz Ad apps.
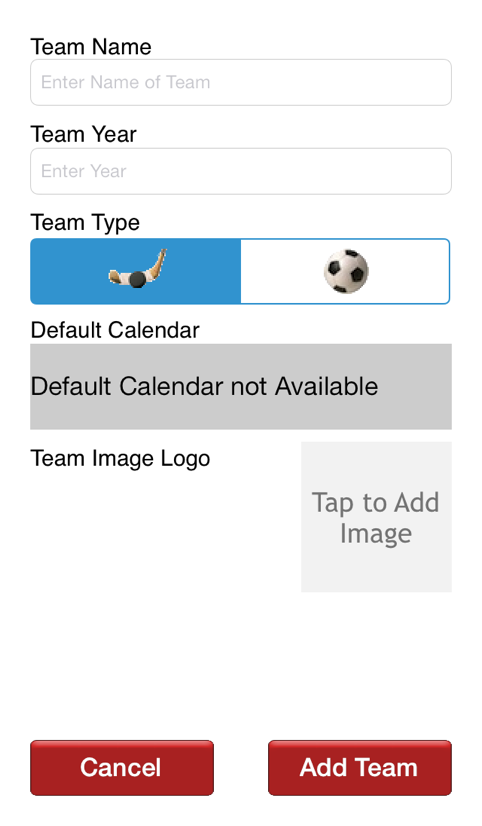
To create a new team entry, tap on the ‘Add New Team’ button at the bottom of the Team List screen. This will bring you to the Add Team shown below.
Tap and Enter:
- Team Name
- Team Year
Tap and Select:
- Team Type
- Default Calendar
- Team Logo
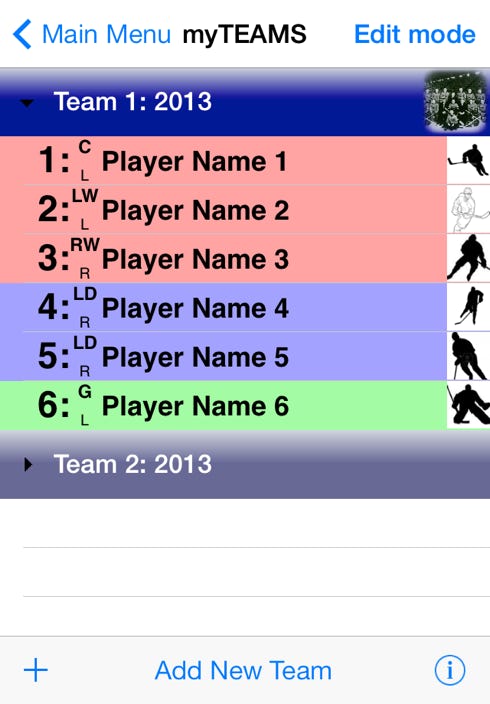
The list of players is stored within each team file. Each player entry has his or her own details stored separately from others. To view the list of locally stored players in a team, tap on a team header. When a team is selected, the caret ‘▶’ to the left will point downwards ‘▾’.
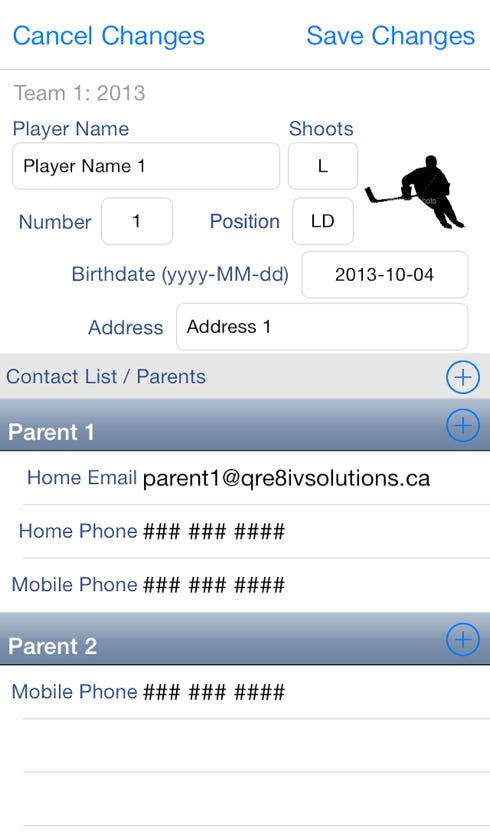
To change any details specific to a player, tap on the player row in the selected team list to move to the Player Edit screen.
To add a new player to an existing team, the ‘Add Player’ bar button must be activated at the bottom of the screen. To do this, tap on the ‘Edit Mode’ button in the top right corner. This will change the ‘Add New Team’ bar button at the bottom to ‘Add New Player’. A team must be selected with its caret pointing downward (▼) for this function to work. Press the ‘Add New Player’ bar button and a new window will appear.
Tap and Enter:
- Player Name
- Shot Direction
- Jersey Number
- Position
- Address
Tap and Select:
- Player Picture
- Birthdate
- Skill Levels
Each player can have multiple contacts. Each contact can also have several contact details. To add a contact, tap on the ‘⊕’ sign in the “Contact List / Parent” header. To add an additional detail to any contact, tap on the ‘⊕’ sign next to the contact name.
The calendar feature is powerful. It links team data and details to the outside world and allows you to communicate them to other staff and parents easily.
The calendar feature of this app combines locally stored details of games and/or practices with iCal events stored in the device calendar. Updates and changes to individual events are synchronized in the background to keep information current. All detailed events created by the app are uploaded to the device calendar. Any other Coachz Aid app on other devices can sync to the same calendar provided this calendar is made available to that device. The use of shared Calendars are necessary when event information must be shared between devices.
This App has been designed to use a locally stored iCal calendar to store and share events. In turn, the iCal calendar can be a delegate of some other calendar, such as a Google Calendar, which can make the events visible to anyone who has a link to that calendar. Updates and changes are automatic, reliable, and current using this technique.
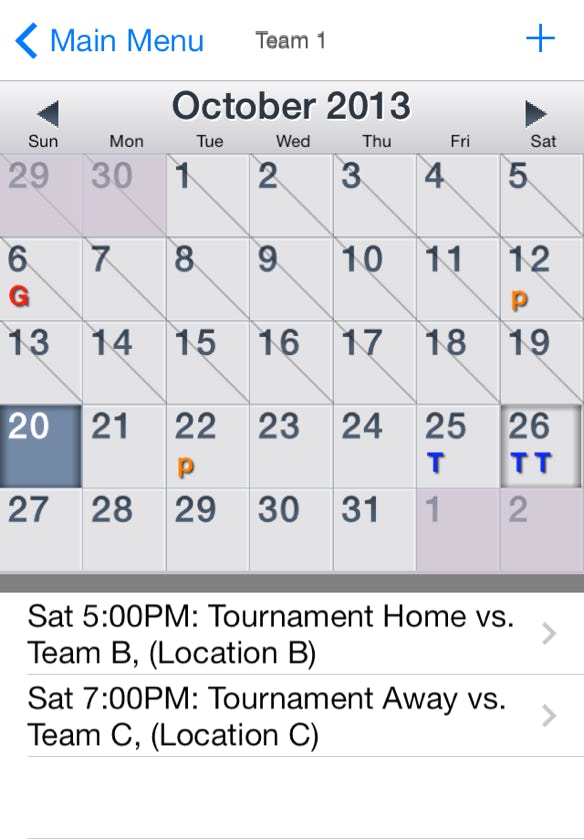
The calendar can be viewed by tapping the button from the main screen. If you have events already entered into the calendar, you will quickly see a snapshot of events for the current month. The app will search for keywords, such as ‘game’, ‘practice’, and try to identify the type of event for you. A letter on the day of the event will be added to quickly help identify the type of event. A total of 3 distinct events can be viewed in each date square. See below the various letters associated with some of the standard events.
View Schedule
G = Game
P = Playoff Game
T = Tournament Game
E = Exhibition Game p = practice
M = Meeting
C = Course
? = Any other event
Today’s date will be displayed as a slate blue color. The calendar view will automatically default to today’s events and display them in the summary table. You can quickly view other events by tapping on the day of those events and they will be listed in the view table. When you tap on a date, it will be displayed as a sunken square.
To change the month, tap the arrows at the top of the calendar view or swipe the screen. Swiping up or left will advance the month. Swiping down or right will decrease the month.
To add an event, you simply tap on the “Add Event” or “+” button at the top right of the calendar view. When entering an event title, stay aware of certain keywords that will enhance the app’s performance. Words such as “game”, “practice”, “playoff”, “tournament”, “home”, “away”, “visitors”, “meeting”, and “course” are recognized. Any games that do not have the words “home”, “away”, or “visitors” will default to a “Home game”.
To delete an event, you need to first tap on the date of the event. The event(s) for that day will be listed in the table. To remove a single event, swipe the event listed in the table to the left and confirm the delete request.
Topics are still under construction...
Creating a Shared iCal Calendar
Creating other Shared Calendars
Editing Events
Statistical Summaries Stats